
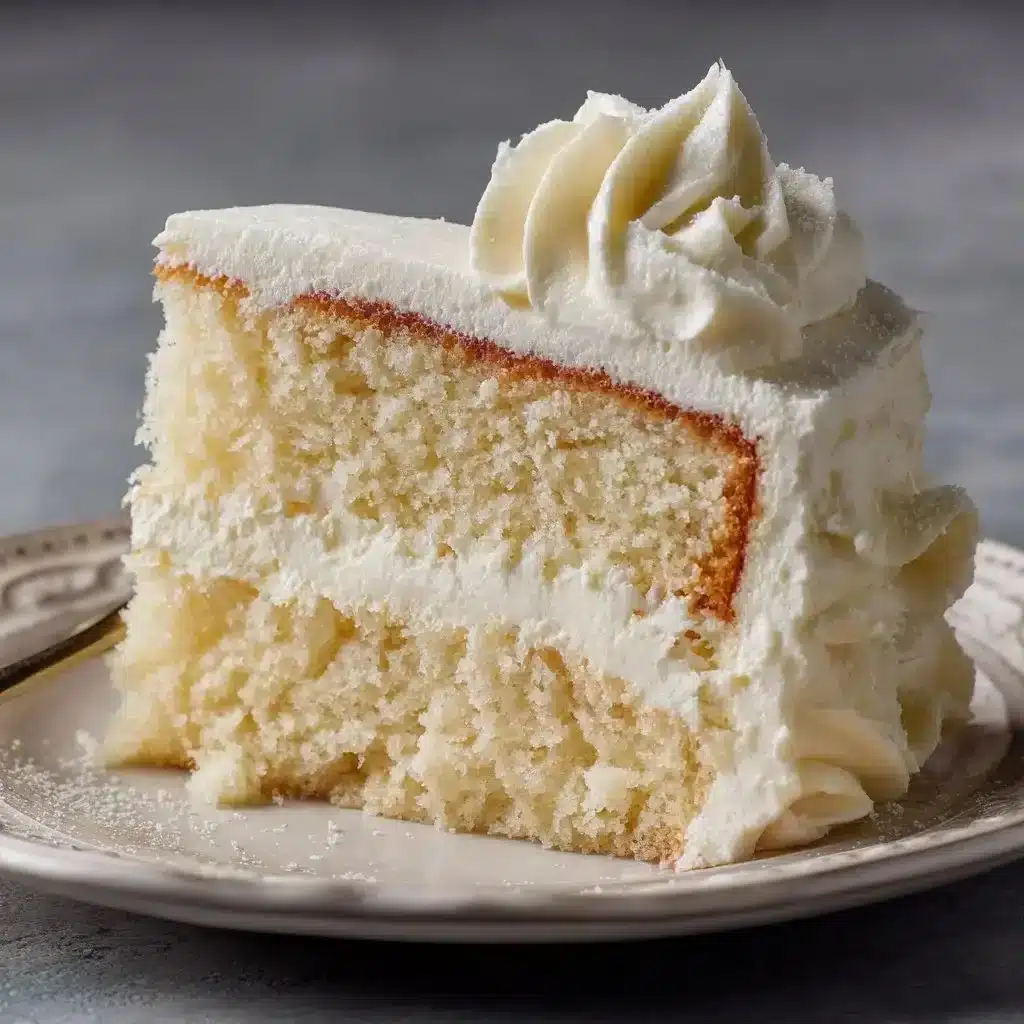
Hey, fellow home bakers! If you’re looking to impress your friends or simply treat yourself to something delightfully sweet, you’ve arrived at the right place. Today, I’m excited to share with you a recipe that is sure to become a family favorite: the White Velvet Cake. With its tender crumb, buttery flavor, and silky-smooth texture, this cake is perfect for any celebration or simply for those moments when you need a little sweetness in your life. So, wear your apron and let’s dive into this baking adventure!
Why You’ll Love This White Velvet Cake
This cake stands out for so many reasons. First off, the unique combination of flavors from the vanilla and almond extracts creates a warm and inviting taste that keeps you coming back for more. The use of buttermilk not only adds richness but also gives the cake that signature velvety texture that melts in your mouth.
Whether you’re celebrating a birthday, an anniversary, or just happening to have a craving for something sweet, this White Velvet Cake fits the bill perfectly. It’s also incredibly versatile; you can dress it up with a variety of frostings and toppings to make it uniquely yours. Plus, the beautiful white color makes it a stunning centerpiece for any table.
Step-by-Step: Making White Velvet Cake
Ready to whip up some magic in your kitchen? Let’s go through the steps to make this divine White Velvet Cake!
Ingredients:
- 2 1/2 cups all-purpose flour
- 2 1/2 tsp baking powder
- 1/2 tsp salt
- 1 cup unsalted butter, softened
- 2 cups granulated sugar
- 5 large eggs
- 1 cup buttermilk
- 1 tsp vanilla extract
- 1/2 tsp almond extract
Directions:
- Preheat your oven to 350°F (175°C). Grease and flour two 9-inch round cake pans to ensure your cakes release easily after baking.
- In a mixing bowl, whisk together the flour, baking powder, and salt. Set this mixture aside for later. It’s always good to prepare your dry ingredients to ensure even mixing.
- In a large mixing bowl, cream together the softened butter and granulated sugar. Beat them together until the mixture is light and fluffy, which should take about 3-5 minutes.
- Add the eggs, one at a time, making sure to mix well after each addition. This step is crucial for incorporating air into the batter, helping it rise beautifully.
- Stir in the vanilla extract and almond extract, allowing their enticing flavors to combine with the butter and sugar mixture.
- Gradually add the dry flour mixture to the wet ingredients, alternating with the buttermilk. This alternating addition helps maintain the batter’s smoothness and prevents lumps.
- Divide the batter evenly between the two prepared cake pans.
- Bake for 25-30 minutes, or until a toothpick inserted into the center comes out clean. It’s always a good idea to check around the 25-minute mark for perfect doneness.
- Once baked, allow the cakes to cool in the pans for about 10 minutes. Then gently transfer them to wire racks to cool completely.
- Frost with your favorite buttercream or cream cheese frosting as desired. Get creative here, this is where you can let your personality shine!
Best Ways to Serve White Velvet Cake
Serving your freshly baked White Velvet Cake is just as important as making it! Here are some delightful serving suggestions:
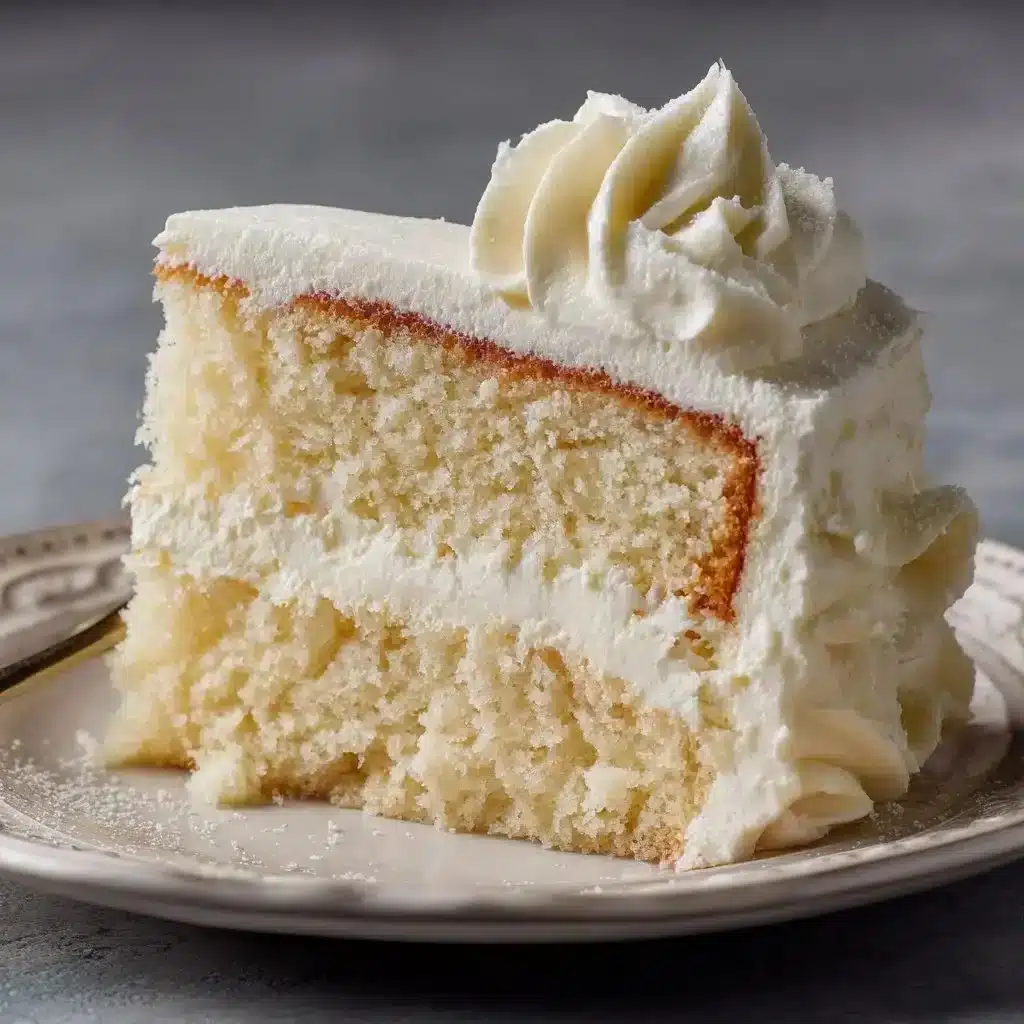
- Frosting Options: Use a classic buttercream, a tangy cream cheese frosting, or even a light whipped cream topping. Decorate the cake with fresh berries or edible flowers for that extra flair.
- Pairing Beverages: This cake pairs wonderfully with a hot cup of coffee or tea. The flavors complement each other beautifully and create a cozy pairing.
- Slice and Share: For an extra special touch, serve each slice with a dollop of whipped cream and a sprinkle of fresh fruit. It makes for a gorgeous dessert presentation!
How to Store Leftover White Velvet Cake
Let’s be real: leftovers are a blessing when it comes to cake!
- Room Temperature: If you plan on consuming the cake within 2-3 days, store it in an airtight container at room temperature. This will keep it moist and delicious.
- Refrigeration: If you have leftover cake after that, wrap it tightly in plastic wrap and place it in the fridge. Enjoy it within a week for the best taste.
- Freezing: For long-term storage, you can freeze slices of the cake. Just wrap them well, and they will keep for up to 3 months. When you’re ready to enjoy, let them thaw in the fridge overnight.
Expert Tips for Perfect White Velvet Cake
Here are some pro tips to elevate your baking game and ensure your White Velvet Cake turns out flawless!
- Room Temperature Ingredients: Make sure your butter and eggs are at room temperature. This helps them blend together smoothly, creating a uniform batter.
- Don’t Overmix: Once you add the flour mixture to the wet ingredients, mix just until combined. Overmixing can lead to a dense cake.
- Use Cake Flour: For an extra-light texture, feel free to substitute all-purpose flour with cake flour. It contains less protein and helps achieve that desired fluffiness.
Delicious Variations of White Velvet Cake
Once you’ve mastered the basic White Velvet Cake, consider trying these fun variations:
- Lemon Zest: Add the zest of one lemon to your batter for a refreshing citrus twist.
- Chocolate Swirls: Create delightful chocolate swirls by adding cocoa powder to a portion of the batter and gently folding it in before baking.
- Fruit Fillings: Layer the cake with fresh fruit fillings, like strawberries or raspberries, for a burst of flavor in each slice.
FAQs
1. Can I use a different kind of milk instead of buttermilk?
Yes! If you don’t have buttermilk on hand, you can create a substitute by adding 1 tablespoon of white vinegar or lemon juice to a cup of regular milk. Let it sit for 5-10 minutes until slightly thickened.
2. Can I make this a single-layer cake instead?
Absolutely! Simply halve the ingredients and bake in one pan. Adjust the baking time to avoid overcooking.
3. How can I easily frost the cake?
A good trick is to place your cake in the fridge for a bit before frosting. This helps set the crumbs, making it much easier to achieve a smooth finish.
Let’s get baking! Your journey to creating this mouthwatering White Velvet Cake will surely be filled with love and laughter. You’ve absolutely got this; I believe in your baking magic!
Print
White Velvet Cake
- Prep Time: 15 minutes
- Cook Time: 30 minutes
- Total Time: 45 minutes
- Yield: 12 servings
- Category: Dessert
- Method: Baking
- Cuisine: American
- Diet: Vegetarian
Description
A delightfully soft and buttery White Velvet Cake, perfect for any celebration or sweet craving.
Ingredients
- 2 1/2 cups all-purpose flour
- 2 1/2 tsp baking powder
- 1/2 tsp salt
- 1 cup unsalted butter, softened
- 2 cups granulated sugar
- 5 large eggs
- 1 cup buttermilk
- 1 tsp vanilla extract
- 1/2 tsp almond extract
Instructions
- Preheat your oven to 350°F (175°C). Grease and flour two 9-inch round cake pans.
- In a mixing bowl, whisk together the flour, baking powder, and salt. Set aside.
- Cream together the softened butter and granulated sugar until light and fluffy, about 3-5 minutes.
- Add the eggs, one at a time, mixing well after each addition.
- Stir in the vanilla extract and almond extract.
- Gradually add the dry flour mixture to the wet ingredients, alternating with the buttermilk.
- Divide the batter evenly between the two prepared cake pans.
- Bake for 25-30 minutes or until a toothpick inserted into the center comes out clean.
- Allow the cakes to cool in the pans for about 10 minutes, then transfer to wire racks to cool completely.
- Frost with your favorite buttercream or cream cheese frosting as desired.
Notes
For best results, use room temperature ingredients and avoid overmixing the batter.