
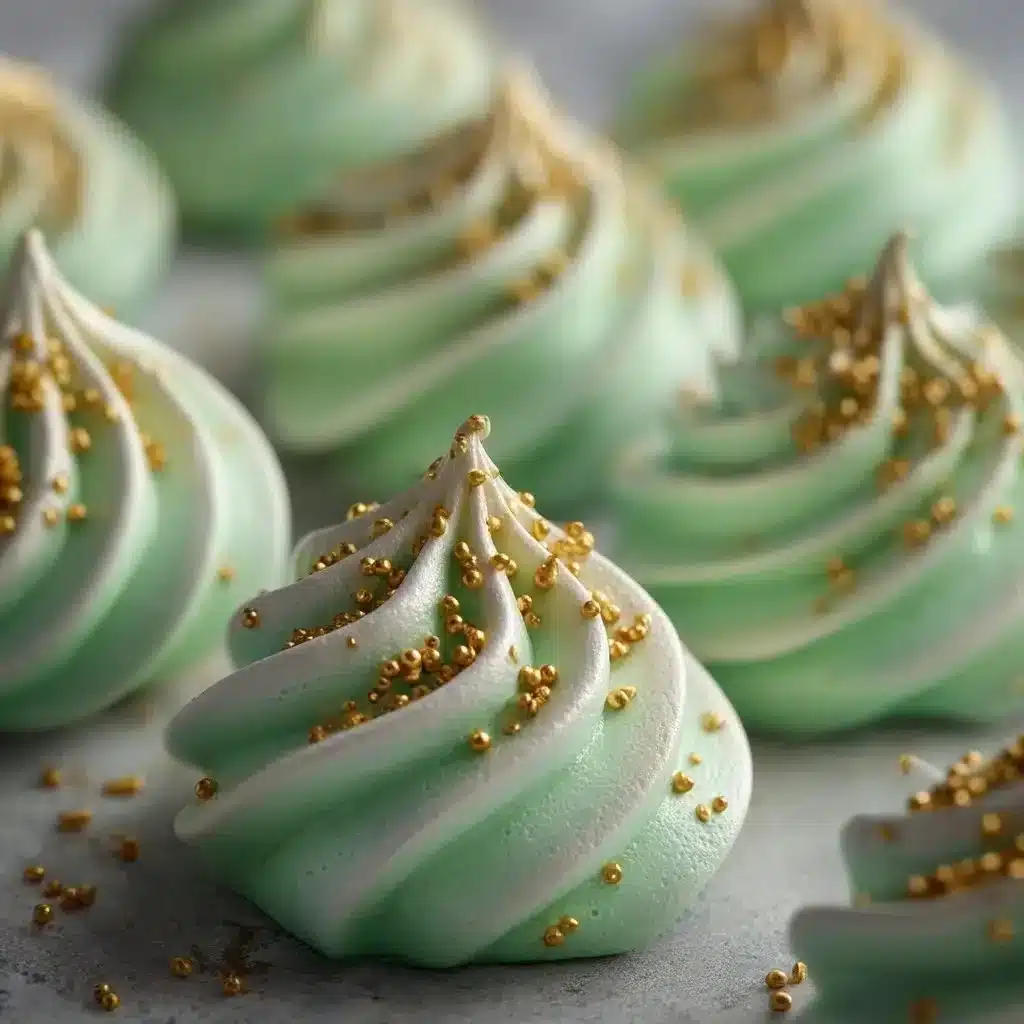
Hey there, dessert lover! If you’ve been searching for a sweet treat that’s both delightful and visually stunning, you’ve landed in the right place. These Delightful Green Meringue Medallions are not just a feast for the eyes but also melt-in-your-mouth delicious. With their airy texture, crisp edges, and vibrant color, these sweet little medallions can brighten up any dessert table or afternoon tea. Plus, they’re surprisingly simple to make, which means you’ll have more time to enjoy the beauty of your creation rather than spending all day in the kitchen. Ready to bring a little joy into your baking routine? Let’s dive in!
Why This Recipe Works
So, what’s the secret behind these Delightful Green Meringue Medallions? Well, it all starts with egg whites. When beaten, they whip up beautifully and create a light, fluffy texture that is simply irresistible. The addition of lemon juice acts as a stabilizer, giving you those perfect stiff peaks. The sugar not only sweetens but also helps create that characteristic crunchy shell we all love in meringues. And don’t forget the vibrant green gel food coloring that brings a pop of personality to these treats. Finished with a sprinkle of golden sprinkles, these meringues are almost too pretty to eat, almost! Trust me, once you take a bite, you’ll be hooked.
Step-by-Step: Making Delightful Green Meringue Medallions
Let’s get into the nitty-gritty of this delightful recipe! Follow these simple steps, and you’ll be on your way to whipping up a batch of these light and airy meringue medallions.
Ingredients:
- 4 large egg whites (room temperature)
- 1/4 teaspoon lemon juice
- 1 cup granulated sugar
- Green gel food coloring
- Golden sprinkles
Directions:
- First, prepare a baking sheet by lining it with parchment paper. Preheat your oven to 200ºF.
- In a mixing bowl, beat the egg whites on medium speed for about two minutes until they start to foam.
- To provide stability, add the lemon juice into the mix.
- Gradually increase the mixer speed to high, adding the sugar one tablespoon at a time until stiff peaks form. This usually takes about 5 to 7 minutes.
- Once your egg whites are glossy and voluminous, carefully fold in a small drop of green gel food coloring until you achieve your desired green hue.
- Next, it’s time to transfer your meringue mixture to a piping bag. Pipe dollops onto the prepared baking sheet; they can be as big or small as you like!
- Before baking, generously sprinkle golden sprinkles on top of each medallion for that extra touch of magic.
- Place them in the oven and bake for around two hours. Once baked, turn off the oven and let the meringues sit for an additional 35-45 minutes to dry out completely.
- Finally, allow them to cool completely before storing.
Best Ways to Serve Delightful Green Meringue Medallions
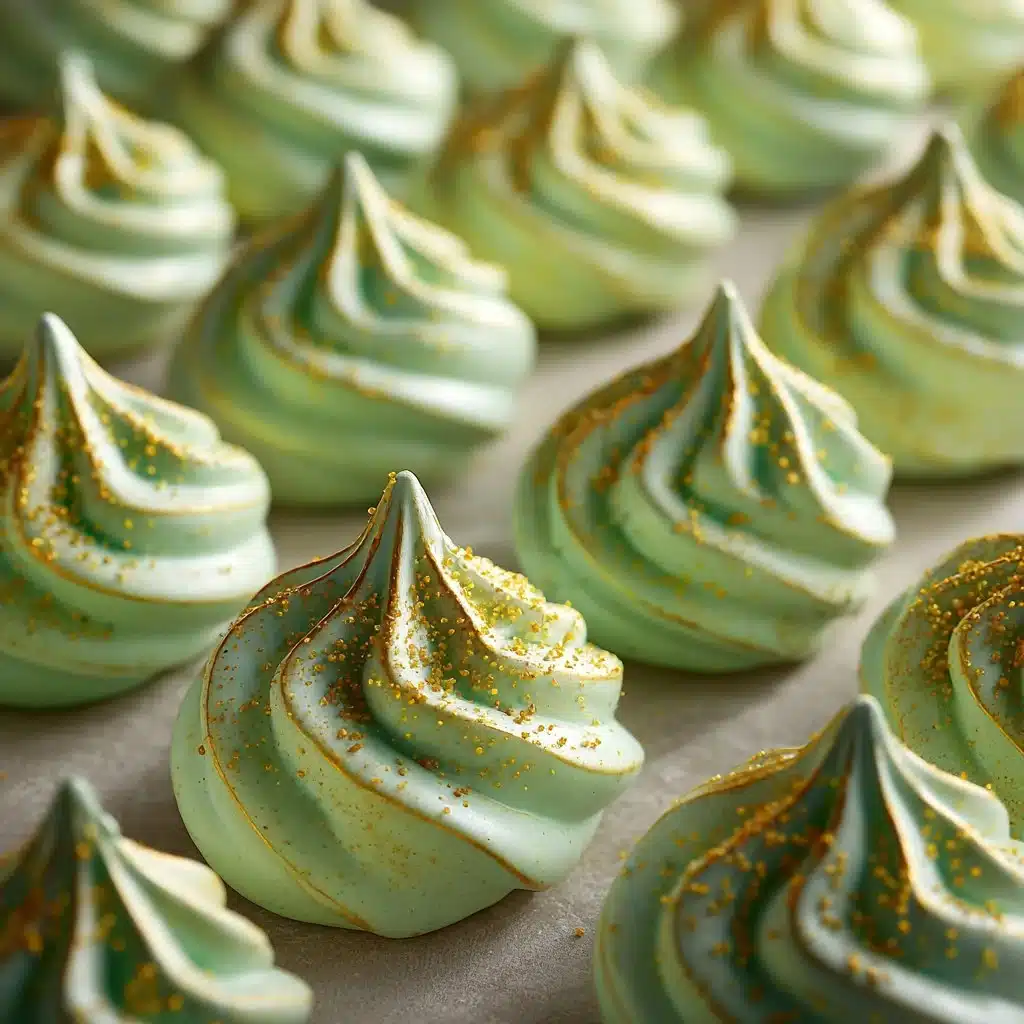
These delightful green meringue medallions are perfect for so many occasions! Serve them as part of an elegant dessert table at events like birthday parties or baby showers. They make a whimsical addition to any festive gathering. You can also enjoy them alongside tea or coffee as a sweet afternoon pick-me-up. For a fun twist, sandwich two meringue medallions with a dollop of whipped cream or a scoop of ice cream for an instant indulgent treat! Feel free to get creative and pair them with fresh fruits, like strawberries or kiwi, for added flavor and presentation.
Storage Tips for Delightful Green Meringue Medallions
To keep your meringue medallions fresh, store them in an airtight container. This will prevent moisture from getting in, which could make them lose their delightful crispness. Meringues are best enjoyed within a few days of making, but they can usually last up to a week if stored correctly. Keep them in a cool, dry place away from direct sunlight. If you want to add an extra layer of protection, consider wrapping them in parchment paper before placing them in your storage container.
Expert Tips for Perfect Delightful Green Meringue Medallions
- Room Temperature Eggs: Make sure your egg whites are at room temperature. This allows for better volume when whipped.
- Clean Bowl and Beaters: Ensure that your mixing bowl and beaters are completely clean and dry. Any grease can prevent the egg whites from whipping properly.
- Add Flavor: Experiment with flavors! You can add a teaspoon of vanilla extract or almond extract for a unique twist on your meringue.
- Gel Food Coloring: The gel food coloring works best for the vibrant green hue. Avoid liquid coloring, as it could change the consistency of your meringue.
- Drying Out: Don’t rush the drying process, allowing the meringues to sit in the turned-off oven helps them dry out properly and achieve that perfect texture.
Delicious Variations of Delightful Green Meringue Medallions
Feeling adventurous? Here are some fun variations you might want to try:
- Chocolate Meringues: Fold in cocoa powder for a chocolaty twist. Just make sure to adjust the sugar if needed.
- Berry Swirl: Incorporate a fruit puree like raspberry or strawberry into your meringue before piping for a beautiful marbled effect and delightful flavor.
- Toasted Coconut: Add shredded coconut before baking for a tropical vibe that pairs well with the green color.
FAQs
1. Can I make meringues in humid weather?
Yes, but be cautious! Humidity can affect the texture of meringues. On humid days, you might want to bake them for a little longer to ensure they dry out properly.
2. Can I double the recipe?
Absolutely! Just make sure your mixer can handle the increased volume. It’s always a good idea to whip in batches if you’re making a large quantity.
3. What can I do if my meringue doesn’t reach stiff peaks?
If your meringue hasn’t reached stiff peaks, it might be due to residual grease in the bowl or beaters. Make sure everything is squeaky clean, and try again. If you added the sugar too quickly, it can also hinder the peak formation.
I hope you feel inspired to hop into your kitchen and try making these delightful green meringue medallions! Enjoy every moment of the process, after all, dessert is all about bringing a little pleasure into our lives. Happy baking!
Print
Delightful Green Meringue Medallions
- Prep Time: 15 minutes
- Cook Time: 120 minutes
- Total Time: 135 minutes
- Yield: 24 servings
- Category: Dessert
- Method: Baking
- Cuisine: French
- Diet: Vegetarian
Description
These Delightful Green Meringue Medallions are visually stunning and melt-in-your-mouth delicious, perfect for any dessert table.
Ingredients
- 4 large egg whites (room temperature)
- 1/4 teaspoon lemon juice
- 1 cup granulated sugar
- Green gel food coloring
- Golden sprinkles
Instructions
- Prepare a baking sheet by lining it with parchment paper. Preheat your oven to 200ºF.
- Beat the egg whites on medium speed for about two minutes until they start to foam.
- Add the lemon juice into the mix for stability.
- Gradually increase the mixer speed to high, adding the sugar one tablespoon at a time until stiff peaks form (about 5 to 7 minutes).
- Fold in a small drop of green gel food coloring until you achieve your desired hue.
- Transfer your meringue mixture to a piping bag and pipe dollops onto the prepared baking sheet.
- Generously sprinkle golden sprinkles on top of each medallion.
- Bake for around two hours and then let the meringues sit in the turned-off oven for an additional 35-45 minutes to dry out completely.
- Allow them to cool completely before storing.
Notes
To keep your meringue medallions fresh, store them in an airtight container. They’re best enjoyed within a few days but can last up to a week if stored correctly.