
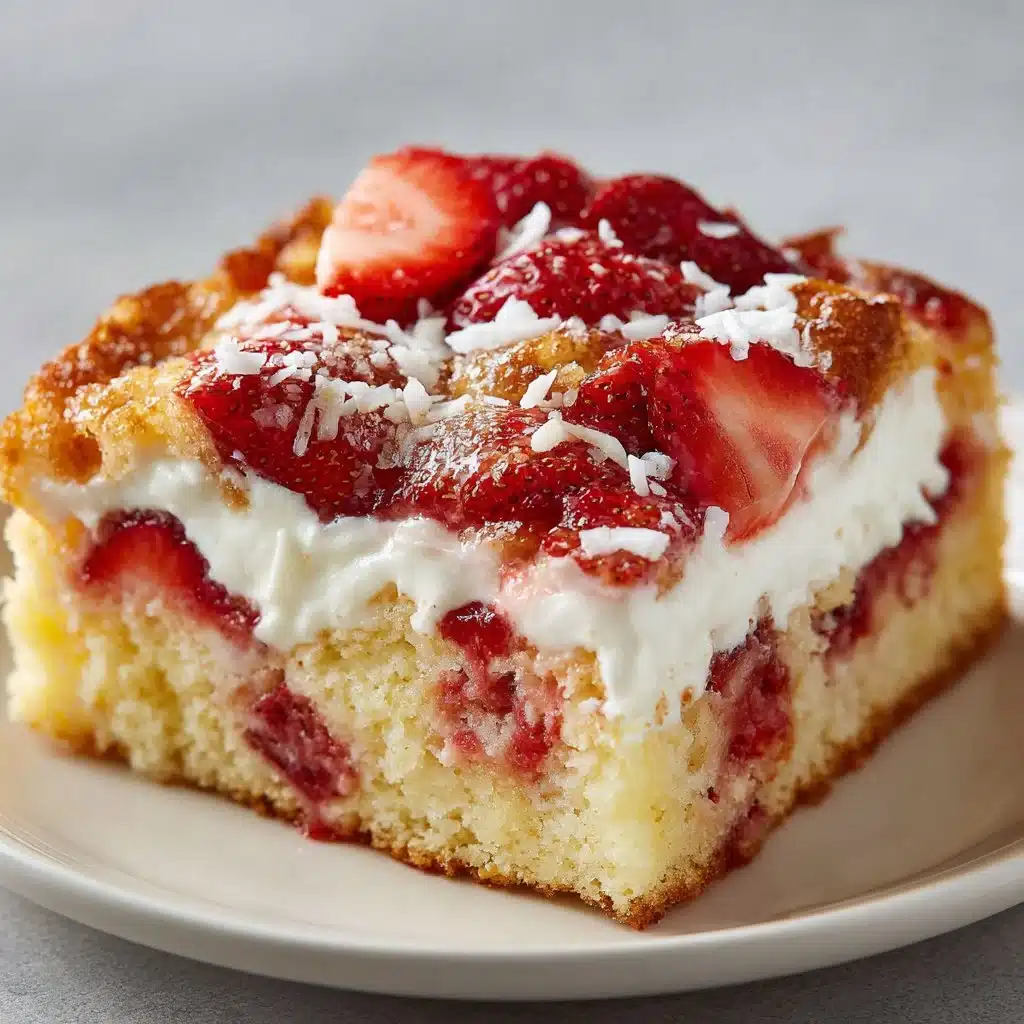
Hey there, baking friends! Are you ready to dive into a dessert that is both beautiful and delicious? If you enjoy desserts that combine flavors in a fun way, the Strawberry Earthquake Cake is calling your name. Imagine luscious strawberries, creamy cheesecake swirls, and a moist vanilla cake all melded into one delightful dish, it’s a dream! Whether you are hosting a gathering or just want a little treat to brighten your week, this cake will surely deliver. So grab your mixing bowls, and let’s get started on this fantastic journey to cake bliss!
Why You’ll Love This Strawberry Earthquake Cake
Why should you whip up this Strawberry Earthquake Cake? There are many reasons! First and foremost, it’s an absolutely stunning dessert that will wow your guests. The beautiful combination of flavors makes it a showstopper at any gathering.
But it’s not just the looks that matter. The texture is heavenly, too! The combination of soft vanilla cake, rich swirls of cream cheese, and the juicy strawberries makes every bite an adventure. Plus, there’s the added crunch of coconut and nuts if you choose to include them. Each slice is a delightful contrast of flavors, textures, and colors that will have everyone reaching for seconds.
This cake is also surprisingly easy to make, even for beginner bakers. You don’t need any fancy skills or equipment. Just simple mixing and layering, and you’ll be on your way to a gorgeous dessert that tastes homemade and oh-so-delicious. Plus, it’s versatile! You can change up toppings or mix-ins to personalize it for every occasion. Sounds amazing, right?
How to Make Strawberry Earthquake Cake
Ready to make your very own Strawberry Earthquake Cake? Let’s break it down in easy steps so you can follow along without any stress.
Ingredients:
- 1 box vanilla cake mix
- 1 cup cream cheese, softened
- 1/2 cup butter, melted
- 1 cup powdered sugar
- 1 cup strawberries, chopped
- 1/2 cup shredded coconut
- 1/2 cup chopped nuts (optional)
- 1/4 cup milk
- Eggs (as per cake mix instructions)
Directions:
- Preheat the Oven: Start by preheating your oven to 350°F (175°C). Grease a 9×13 inch baking pan to ensure your cake doesn’t stick.
- Make the Cake Mix: Prepare the vanilla cake mix according to the package instructions. Don’t forget to add the eggs and milk—they’ll give your cake a fluffy texture!
- Mix the Cream Cheese: In a separate bowl, beat together the softened cream cheese and melted butter until they’re smooth. Gradually mix in the powdered sugar until everything is blended beautifully.
- Spread the Batter: Pour the vanilla cake batter evenly into the greased pan. It’s okay if it’s not perfect; you’re going to add more goodness on top!
- Add the Cream Cheese Mixture: Spoon dollops of the cream cheese mixture over the batter. Grab a knife and swirl it gently for that artistic fabulousness.
- Top with Toppings: Sprinkle chopped strawberries, shredded coconut, and optional nuts across the top. Each layer adds a new burst of flavor and texture.
- Bake: Place your cake in the oven and bake for about 30 to 35 minutes. Check for doneness by inserting a toothpick in the center—if it comes out clean, you’re all set!
- Cool and Serve: Let your cake cool before serving. It’s hard to wait, but patience will pay off with that perfect slice!
Best Ways to Serve Strawberry Earthquake Cake
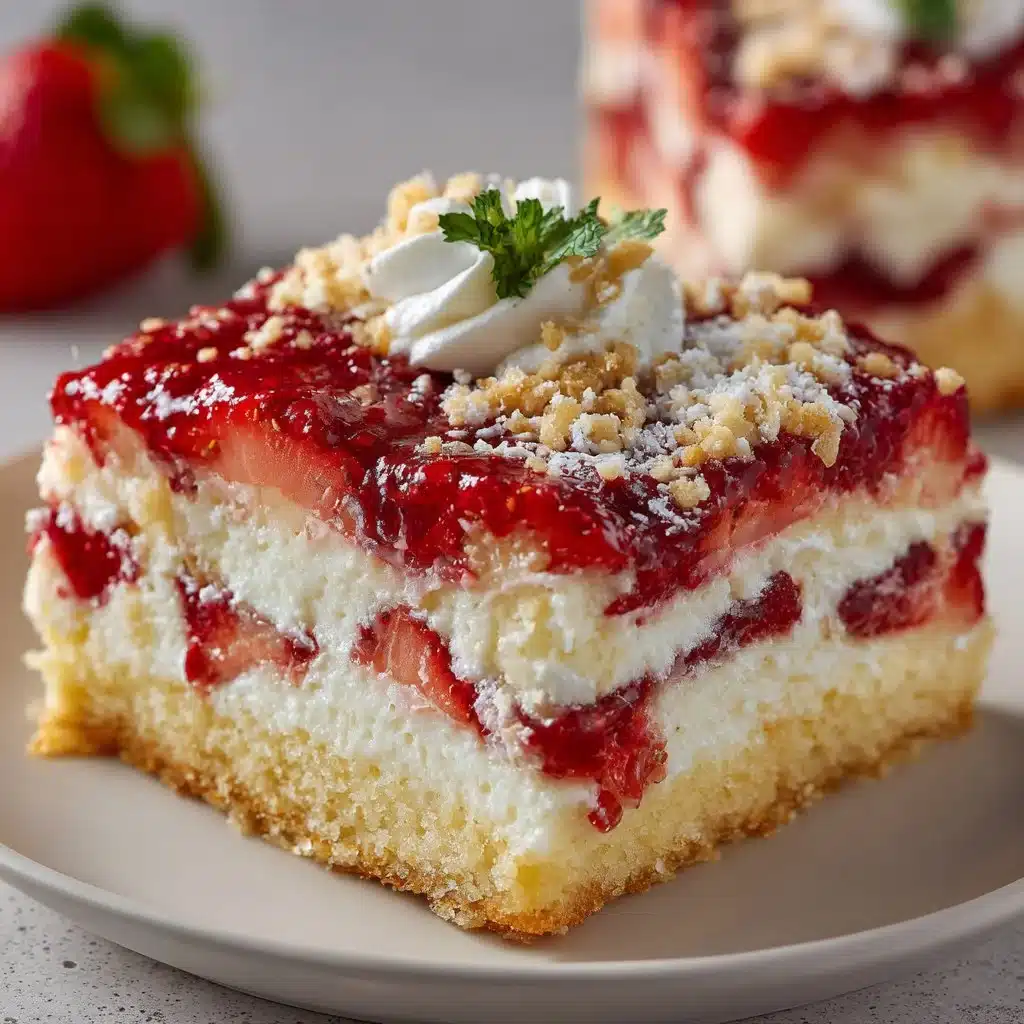
When it comes to serving your Strawberry Earthquake Cake, think about how to make it even more enticing! You can slice it into squares and serve it as it is, or you could go all out with some delightful toppings. Whipped cream or a scoop of vanilla ice cream on the side can elevate the experience. Drizzle with chocolate or serve with a fresh berry compote for that extra wow factor.
This cake makes a perfect centerpiece for potlucks or birthday parties. Simply place it on a beautiful platter, and let your guests admire your hard work before diving in. The fruity aroma and colorful strawberries will definitely draw everyone in!
Keeping Your Strawberry Earthquake Cake Fresh
Now, how do you keep any leftovers fresh and tasty? First, if you have any leftover cake (which might be unlikely—it’s that good!), make sure it’s completely cool. Store the cake in an airtight container at room temperature for up to three days. If you want to enjoy it longer, wrap it tightly in plastic wrap and keep it in the fridge for up to a week.
If you decide you want to freeze it, you can do that too! Cut into individual portions, wrap each slice in plastic wrap and then store in a freezer-safe bag. Just allow it to thaw at room temperature when you’re ready for a delicious treat again!
Expert Tips for Perfect Strawberry Earthquake Cake
- Cream Cheese Consistency: Make sure your cream cheese is softened to room temperature before mixing; this will help you achieve a smooth mixture without lumps.
- Fresh Strawberries: Use fresh strawberries for better flavor and texture. Frozen strawberries may work, but they could add extra moisture to the cake.
- Mix-Ins: Feel free to get creative with ingredients. Add chocolate chips or different nuts to customize the flavor to your liking.
- Layering: Don’t worry about presentation while swirling the cream cheese mix; the “earthquake” effect is part of the charm!
Delicious Variations of Strawberry Earthquake Cake
If you’re feeling adventurous, you can switch things up! Try using raspberry or blueberry pie filling instead of strawberries. This will give you a whole new flavor profile while keeping that lovely “earthquake” effect.
Another fun option is to experiment with flavored cake mixes, like lemon or almond, to see how it transforms your cake! The possibilities are endless, and it allows you to get creative in the kitchen.
FAQs
1. Can I use a different type of cake mix?
Absolutely! Feel free to use chocolate, strawberry, or even a gluten-free cake mix to customize this recipe.
2. How can I make this cake healthier?
You can substitute the cream cheese with Greek yogurt and use less sugar. Experiment with whole wheat flour in your cake mix for a nutritious twist.
3. Can I make this cake ahead of time?
Yes, you can bake the cake a day in advance! Just store it in the fridge, and it will be delicious on the day you serve it.
And there you have it, my baking friends! An easy and delightful Strawberry Earthquake Cake recipe that is ready for you to conquer in your cozy kitchen. I hope this dessert makes you smile and brings delicious joy into your life. Now go ahead and bake like you mean it!
Print
Strawberry Earthquake Cake
- Prep Time: 15 minutes
- Cook Time: 35 minutes
- Total Time: 50 minutes
- Yield: 12 servings
- Category: Dessert
- Method: Baking
- Cuisine: American
- Diet: Vegetarian
Description
A stunning dessert combining luscious strawberries, creamy cheesecake swirls, and moist vanilla cake for a delightful treat.
Ingredients
- 1 box vanilla cake mix
- 1 cup cream cheese, softened
- 1/2 cup butter, melted
- 1 cup powdered sugar
- 1 cup strawberries, chopped
- 1/2 cup shredded coconut
- 1/2 cup chopped nuts (optional)
- 1/4 cup milk
- Eggs (as per cake mix instructions)
Instructions
- Preheat the oven to 350°F (175°C) and grease a 9×13 inch baking pan.
- Prepare the vanilla cake mix according to package instructions, adding eggs and milk.
- In a separate bowl, beat together cream cheese and melted butter, then gradually mix in powdered sugar.
- Pour the vanilla cake batter into the greased pan.
- Spoon dollops of the cream cheese mixture over the batter and swirl gently.
- Sprinkle chopped strawberries, shredded coconut, and optional nuts on top.
- Bake for 30 to 35 minutes and check for doneness with a toothpick.
- Let the cake cool before serving.
Notes
Serve with whipped cream or vanilla ice cream for an elevated experience. Store leftovers in an airtight container.