
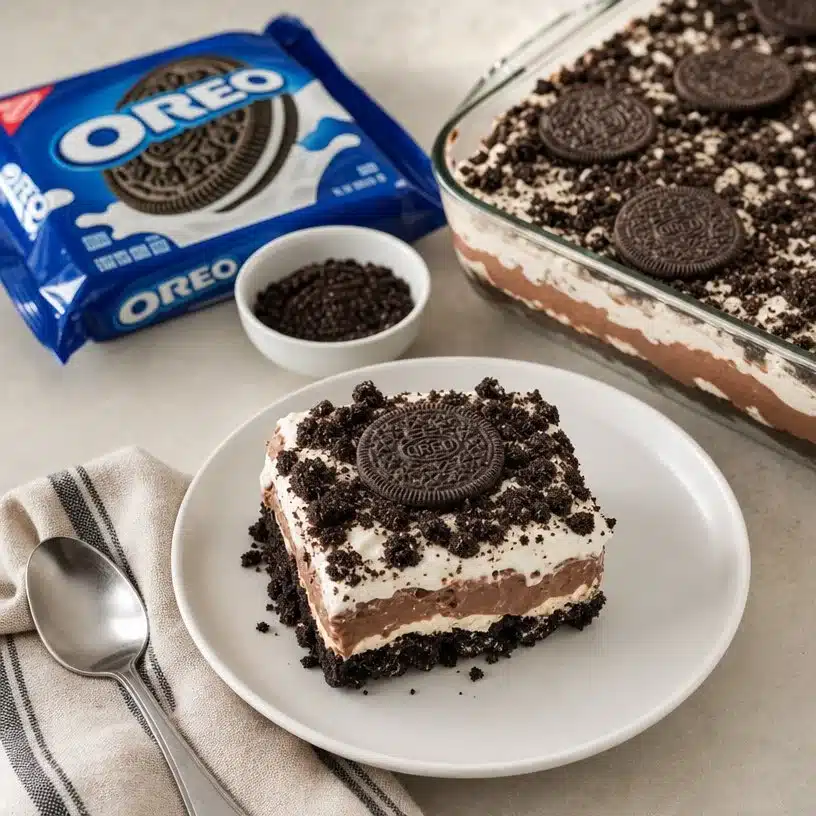
Indulge in Heaven with this Oreo Dirt Cake Recipe
Do you love dessert as much as I do? If so, you’re in for a sweet treat! Today, I’m thrilled to share one of my absolute favorites, the Heavenly Oreo Dirt Cake. This dessert is not only easy to make but also incredibly delicious and satisfying. With layers of creamy goodness, crushed Oreos, and delightful chocolate pudding, you will find any excuse to whip this up. So, let’s dive into this delightful creation together!
Why You’ll Love This Heavenly Oreo Dirt Cake
There are so many reasons to fall head over heels for this Heavenly Oreo Dirt Cake. First off, it combines some of our favorite ingredients: Oreos, cream cheese, and chocolate pudding. These three components create a rich and creamy dessert that always steals the show at any gathering. Each bite brings a delightful crunch from the cookie crumbs and a cloud-like texture from the whipped topping.
Moreover, this dessert requires no baking. That’s right! Just a bit of mixing and layering, and you’re set. It’s perfect for those who might be intimidated by baking or for those of us who just want something quick and delicious without the fuss of an oven.
Whether you’re making it for a birthday party, a family gathering, or just a cozy night at home, this cake delivers comfort and happiness in each spoonful. Additionally, it’s a crowd-pleaser, making it a fantastic choice to share with friends and family.
How to Prepare Heavenly Oreo Dirt Cake
Now, let’s jump right into the preparation. Making this Heavenly Oreo Dirt Cake is a fun, no-stress process. Just follow these simple steps!
Ingredients
- 1 package of Oreo cookies
- 8 oz cream cheese, softened
- 1/2 cup powdered sugar
- 2 cups whipped topping
- 1 (3.9 oz) package of chocolate pudding mix
- 2 cups milk
Directions
- Start by crushing the Oreo cookies into fine crumbs. Don’t forget to set aside a small amount for garnishing later.
- In a mixing bowl, combine the softened cream cheese and powdered sugar. Beat the mixture until it becomes smooth and creamy.
- Gently fold in the whipped topping until everything is well combined. This ensures a light texture throughout the layers.
- In another mixing bowl, whisk together the chocolate pudding mix and milk until it thickens to your desired consistency.
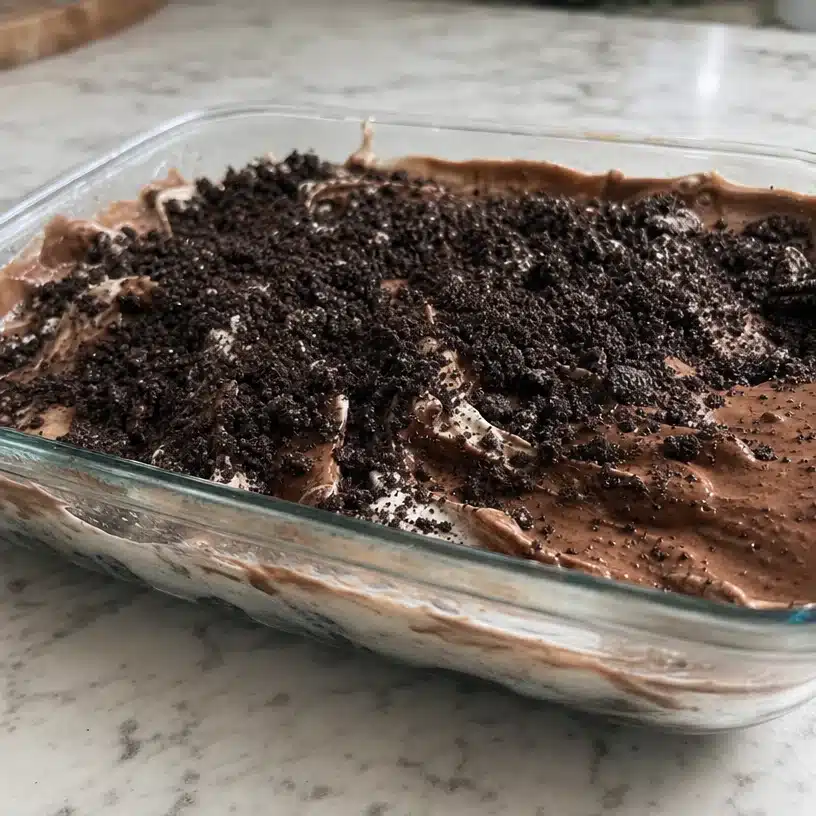
- Now we will assemble the cake! In a serving dish, layer the Oreo crumbs, followed by the cream cheese mixture, and then the pudding mixture. Repeat this process until all the ingredients are used. Finish with a generous sprinkle of Oreo crumbs on top.
- Cover the dish with plastic wrap and chill in the refrigerator for at least 2 hours before serving. This step is crucial for allowing those flavors to mingle seamlessly.
Best Ways to Serve Heavenly Oreo Dirt Cake
When it comes to serving your Heavenly Oreo Dirt Cake, the presentation can elevate the experience. I find that serving it in individual cups or bowls makes it feel a bit more special. You can even layer the ingredients in small mason jars for a charming picnic or gathering touch.
For garnishing, consider adding extra whipped topping on top and a sprinkle of those reserved Oreo crumbs. You might also drizzle some chocolate syrup for an indulgent finishing touch. Remember, this dessert is all about satisfying those sweet cravings, so don’t be shy with the toppings!
Storage Tips for Heavenly Oreo Dirt Cake
This Heavenly Oreo Dirt Cake can be a great make-ahead dessert. If you’ve got leftovers, here’s how to keep it fresh. Store it in an airtight container in the refrigerator. The dessert will keep well for about 3 to 5 days, making it perfect for snacking throughout the week.
If you need to prepare it further in advance, you can assemble it a day or two before your event. Just be sure to cover it well to prevent any odors from the fridge affecting its flavor.
Pro Tips for Making Heavenly Oreo Dirt Cake
- Quality Ingredients: The best desserts start with quality ingredients. Choose a good brand of Oreos and cream cheese for top-notch flavor.
- Chill Time: Don’t rush the chilling process! Allowing your cake to sit in the refrigerator enhances the flavors and gives you that perfect creamy texture.
- Crushing Oreos: For finer crumbs, I like to use a food processor. If you don’t have one, placing the cookies in a sealed plastic bag and smashing them gently with a rolling pin works just as well.
- Layering: Get creative with layering! Sometimes I like to add a third layer of whipped topping or even some chocolate shavings in between for an extra surprise.
Delicious Variations of Heaven Oreo Dirt Cake
While this recipe is divine as is, there’s always room for creativity. Here are some variations you might consider trying:
- Mint Chocolate Oreo Dirt Cake: Swap out the regular Oreos for mint-flavored ones and add a few drops of peppermint extract to the cream cheese mixture.
- Peanut Butter Lovers: Mix some peanut butter into the cream cheese filling for a rich and nutty twist.
- Fruit Addition: For a fruity spin, consider adding layers of your favorite berries; strawberries would be delightful.
If you love the idea of layering desserts, you may find inspiration in other recipes like Decadent Oreo Mousse Cake for those chocolate cravings!
FAQs
Can I use low-fat cream cheese and whipped topping?
Yes, you can substitute low-fat options for cream cheese and whipped topping. However, keep in mind that the texture and flavor may slightly differ.
Is it possible to freeze Heavenly Oreo Dirt Cake?
While it is best enjoyed fresh, you can freeze the cake for up to a month. Ensure it’s stored in an airtight container. Let it thaw in the refrigerator before serving.
What if I don’t have chocolate pudding mix?
If you don’t have chocolate pudding mix on hand, vanilla pudding can be used instead. To enhance the chocolate flavor, add cocoa powder to the vanilla pudding mix.
There you have it! Your guide to creating the Heavenly Oreo Dirt Cake that is sure to become a staple in your dessert repertoire. Enjoy baking, and as always, let your kitchen be a space of joy and creativity!
Print
Heavenly Oreo Dirt Cake
- Prep Time: 15 minutes
- Cook Time: 0 minutes
- Total Time: 120 minutes
- Yield: 8 servings
- Category: Dessert
- Method: No Bake
- Cuisine: American
- Diet: Vegetarian
Description
A no-bake dessert that features layers of crushed Oreos, creamy filling, and chocolate pudding, perfect for any gathering.
Ingredients
- 1 package of Oreo cookies
- 8 oz cream cheese, softened
- 1/2 cup powdered sugar
- 2 cups whipped topping
- 1 (3.9 oz) package of chocolate pudding mix
- 2 cups milk
Instructions
- Start by crushing the Oreo cookies into fine crumbs. Set aside a small amount for garnishing.
- In a mixing bowl, combine the softened cream cheese and powdered sugar. Beat until smooth and creamy.
- Gently fold in the whipped topping until well combined.
- In another bowl, whisk together the chocolate pudding mix and milk until it thickens.
- Assemble the cake in a serving dish, layering Oreo crumbs, cream cheese mixture, and pudding mixture. Repeat until all ingredients are used.
- Finish with a sprinkle of Oreo crumbs on top.
- Cover with plastic wrap and chill in the refrigerator for at least 120 minutes before serving.
Notes
Consider serving in individual cups or jars for a charming presentation. Garnish with whipped topping and chocolate syrup if desired.